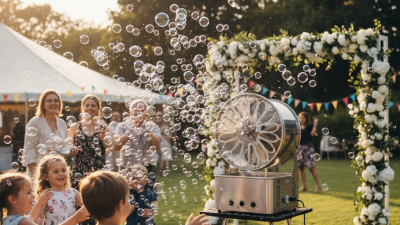
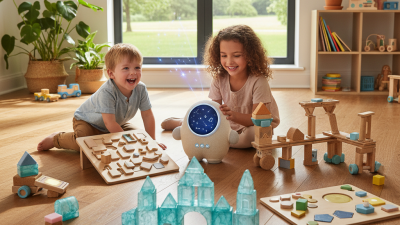
Creating fun without the mess seems impossible. Yet, with no spill bubbles, it’s within reach. Experts agree on their appeal. Dr. Jane Harper, a leading specialist in childhood play, says, "No spill bubbles allow kids to enjoy the magic without the mess."
Playing with traditional bubbles can be chaotic. They pop, spill, and leave sticky surfaces. Kids love bubbles, but parents often dread the inevitable cleanup. No spill bubbles change this scenario. They offer controlled enjoyment, reducing the stress for caregivers.
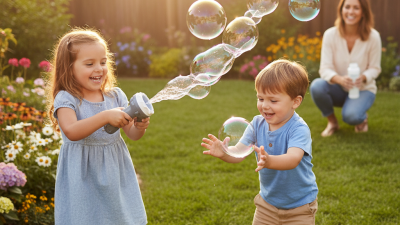
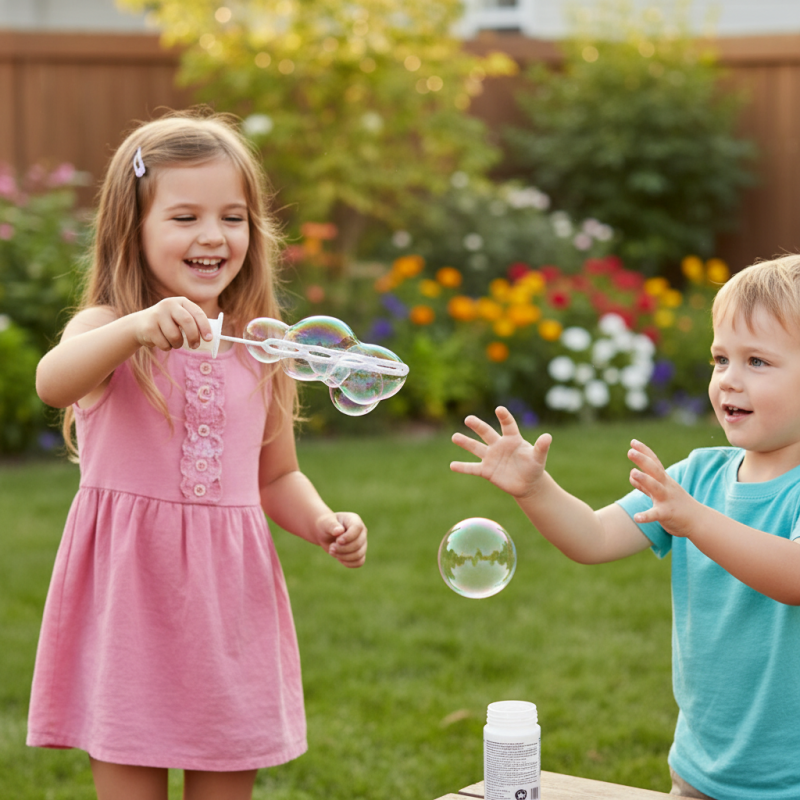
These bubbles are designed to minimize spills while providing maximum fun. Children can chase and pop with enthusiasm. However, the challenge lies in finding the right formula. Many products claim to be no spill, yet they fail to deliver. It takes time to discover the best options. This search can be frustrating. But the joy on a child's face makes it worthwhile.
Creating no spill bubbles is not just an art; it's a science. The key lies in understanding surface tension. When you blow bubbles, the liquid creates a thin film that forms the bubble's surface. This film’s structure keeps the bubble intact. But what if we could prevent spills? Simple adjustments can make this happen.
To achieve no spill bubbles, you can try using a thicker bubble solution. A good mix of soap and water can increase viscosity. You might find that a bit of corn syrup can help. This addition changes the surface tension, making it stronger. Remember, a stronger film means fewer spills.
Tips: Use a shallow container for your solution. This reduces the likelihood of tipping over. You can also use a bubble wand with a narrow neck. It helps control airflow. Experimenting with different shapes can also yield interesting results. Keep in mind that not all solutions will work perfectly. You might need to adjust your ingredients based on your environment. It’s a process of trial and error, but that’s part of the fun!
Creating no spill bubbles can be a delightful experience for both kids and adults. One key to achieving bubble fun without the mess lies in selecting the right ingredients for your bubble solution. A common recipe includes water, dish soap, and a thickening agent. Research shows that using glycerin can improve bubble longevity by 50%. It increases viscosity, allowing for larger, more resilient bubbles.
When preparing your bubble solution, consider using distilled water. Tap water may contain minerals that could affect the bubble’s structure. Each ingredient should be measured precisely. This ensures that the solution adheres to the desired viscosity. Mixing the solution gently is vital to avoid foam. After all, bubbles thrive in a calm environment.
Tip: If your bubbles pop quickly, experiment with the ratios. Sometimes a splash more soap can yield better results. Adding a few drops of corn syrup can also create sturdier bubbles. However, be mindful of overdoing it. This could lead to a sticky mess.
Creating bubbles is about experimentation. Not every mixture may yield the desired no spill effect. It's crucial to take notes of your trials. Reflect on the changes each ingredient brings. Strive for balance—too much soap leads to fizz, while too little leaves fragile bubbles.
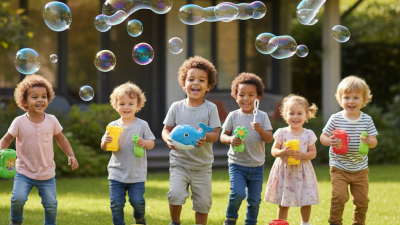
Creating a no spill bubble bottle can transform playtime into a fun, mess-free experience. The simple design of a no spill bubble bottle allows kids to enjoy bubbles without the usual mess associated with traditional bubble solutions. This can lead to more enjoyable outdoor activities and less time spent cleaning up. According to a report by the Association of Toy Manufacturers, bubble toys are among the top outdoor play products, with an 18% growth in popularity over the past five years.
To create your own no spill bubble bottle, start with a small plastic bottle with a tight-sealing lid. Fill it with bubble solution, leaving some space at the top. Stick a straw or a rigid bubble wand into the liquid, making sure it fits snugly. This design creates a sealed environment, reducing the chance of spills during play. Kids can dip and blow without worrying about drenching themselves or their surroundings.
Tips: Choose a bottle that is clear, so kids can see the bubble solution inside. For extra fun, add food coloring for a vibrant effect. Always supervise young children; their excitement might lead to unexpected spills. Consider using a funnel during the filling process. It can reduce the chance of creating a mess right from the start, yet some spills might still happen.
Imperfect situations often present learning opportunities. If the bubbles don't come out as expected, encourage children to experiment with blowing techniques. They might discover unique ways to create larger or more colorful bubbles. Remember, playtime is about the experience, not just the outcome.
This chart illustrates the effectiveness of different no spill bubble solutions based on user feedback.
Creating no spill bubbles can be a great way to enjoy bubble blowing without the mess. To start, use a shallow dish. Fill it with bubble solution, but keep the amount low. This will allow for easier control. When you dip your wand, don't overload it. A little solution goes a long way in creating beautiful bubbles.
Tips: Use a homemade bubble solution for best results. Combine water, dish soap, and corn syrup. The corn syrup helps to thicken the mixture, giving you more substantial bubbles. Experiment with different ratios to find your perfect blend.
Make sure to blow gently. Too much force can pop the bubbles before they float away. Practice your technique to achieve the desired size and distance. It’s okay if some bubbles pop or spill. Embrace the imperfect moments. They can be just as fun. Keep trying until you find the right method for your next bubble adventure.
| Technique | Description | Materials Needed | Safety Tips |
|---|---|---|---|
| Bubble Wands | Use wands with larger loops to create bigger, longer-lasting bubbles. | Flexible plastic or straw | Supervise children to prevent them from putting wands in their mouths. |
| Squeeze Bottles | Fill with bubble solution and squeeze to create no spill bubbles. | Squeeze bottles, bubble solution | Avoid letting kids climb on furniture while using bottles. |
| Bubble Wrap | Dip bubble wrap in solution and press it together to create bubbles. | Bubble wrap, bubble solution | Check for small pieces that could be a choking hazard. |
| Plastic Cup Method | Fill a cup with bubble solution and use a straw to create bubbles on top. | Plastic cup, straw, bubble solution | Careful with straw hygiene; don't share straws. |
| Foam Bubbles | Mix dish soap with water and whisk until foamy; use a spoon to scoop and blow. | Dish soap, water, whisk, spoon | Ensure all ingredients are non-toxic. |
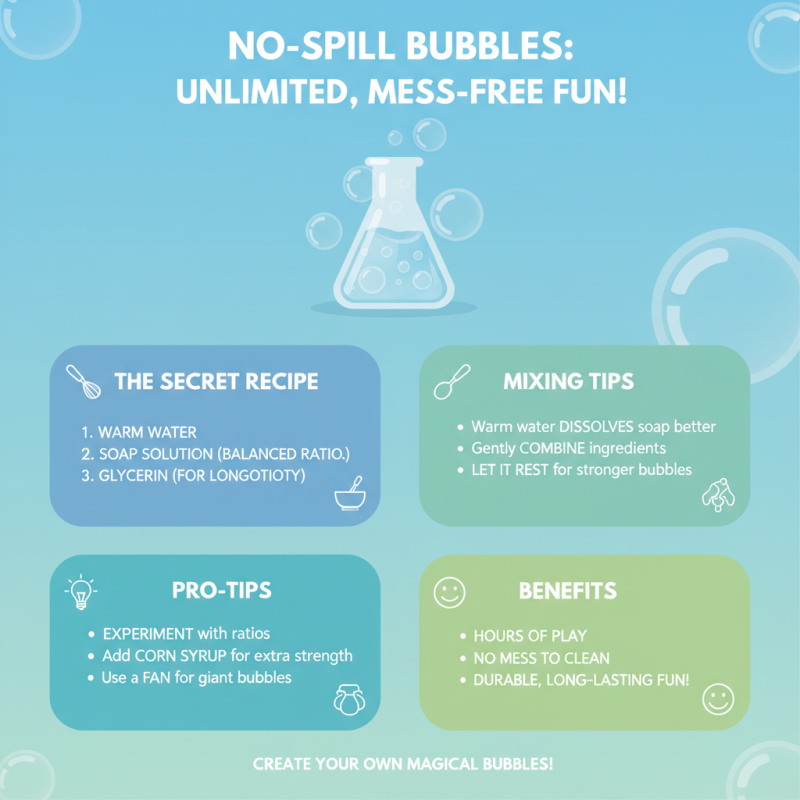
Creating no spill bubbles can lead to hours of fun without the mess. To maximize bubble longevity, it’s key to focus on the right recipe. Use warm water to dissolve the bubble solution. This helps the soap mix better. A balanced ratio of soap to water can improve bubble strength. Adding a bit of glycerin can keep bubbles intact longer. Experiment with measurements for the best results.
For playtime, the environment matters. Use your bubbles outdoors to avoid sticky surfaces. Windy days can be challenging, as they may pop bubbles quickly. Look for a calm day or a sheltered spot for longer-lasting fun. Encourage kids to blow gently. Strong exhales burst bubbles easily. Finally, setting realistic expectations is important. Not every bubble will last forever, and that’s okay!